Blink Blink ICE Tower CPU Cooling Fan for Raspberry Pi
Blink Blink ICE Tower CPU Cooling Fan for Raspberry Pi
I have a problem: I don't know how to disconnect from work and lately I have one that has me completely saturated. But today I decided to disconnect and do a review of a fan that the guys from Seeed Studio sent me. Here you have the link to Blink Blink ICE Tower. I'm telling you that as a ventilation system for Raspberry Pi, it's one of the best solutions to keep our dear Pi cooled. Don't you believe it? Come on, I'll show you now...
[ About Seeed Studio ]
Seeed is the IoT hardware enabler providing services over 10 years that empower makers to realize their projects and products. Seeed offers a wide array of hardware platforms and sensor modules ready to be integrated with existing IoT platforms and one-stop PCB fabrication and PCB assembly service. Seeed Studio provides a wide selection of electronic parts including Arduino, Raspberry Pi and many different development board platforms, especially the Grove Sytsem help engineers and makers to avoid jumper wires problems. Seeed Studio has developed more than 280 Grove modules covering a wide range of applications that can fulfill a variety of needs.
[ Unboxing ]
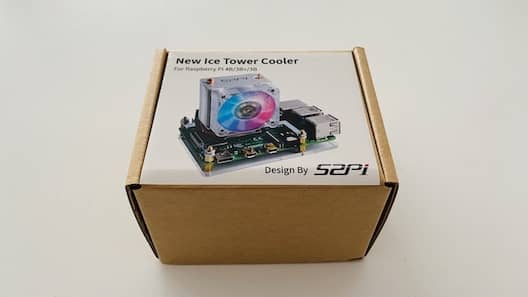
It said it's capable of reducing the temperature of the board by half. I have to test that. The first thing is unboxing. This is what I find as soon as I open it.

It's nothing complicated to mount, even my nine-year-old daughter can do it. I'll leave you some more captures and we'll go over the most important features.
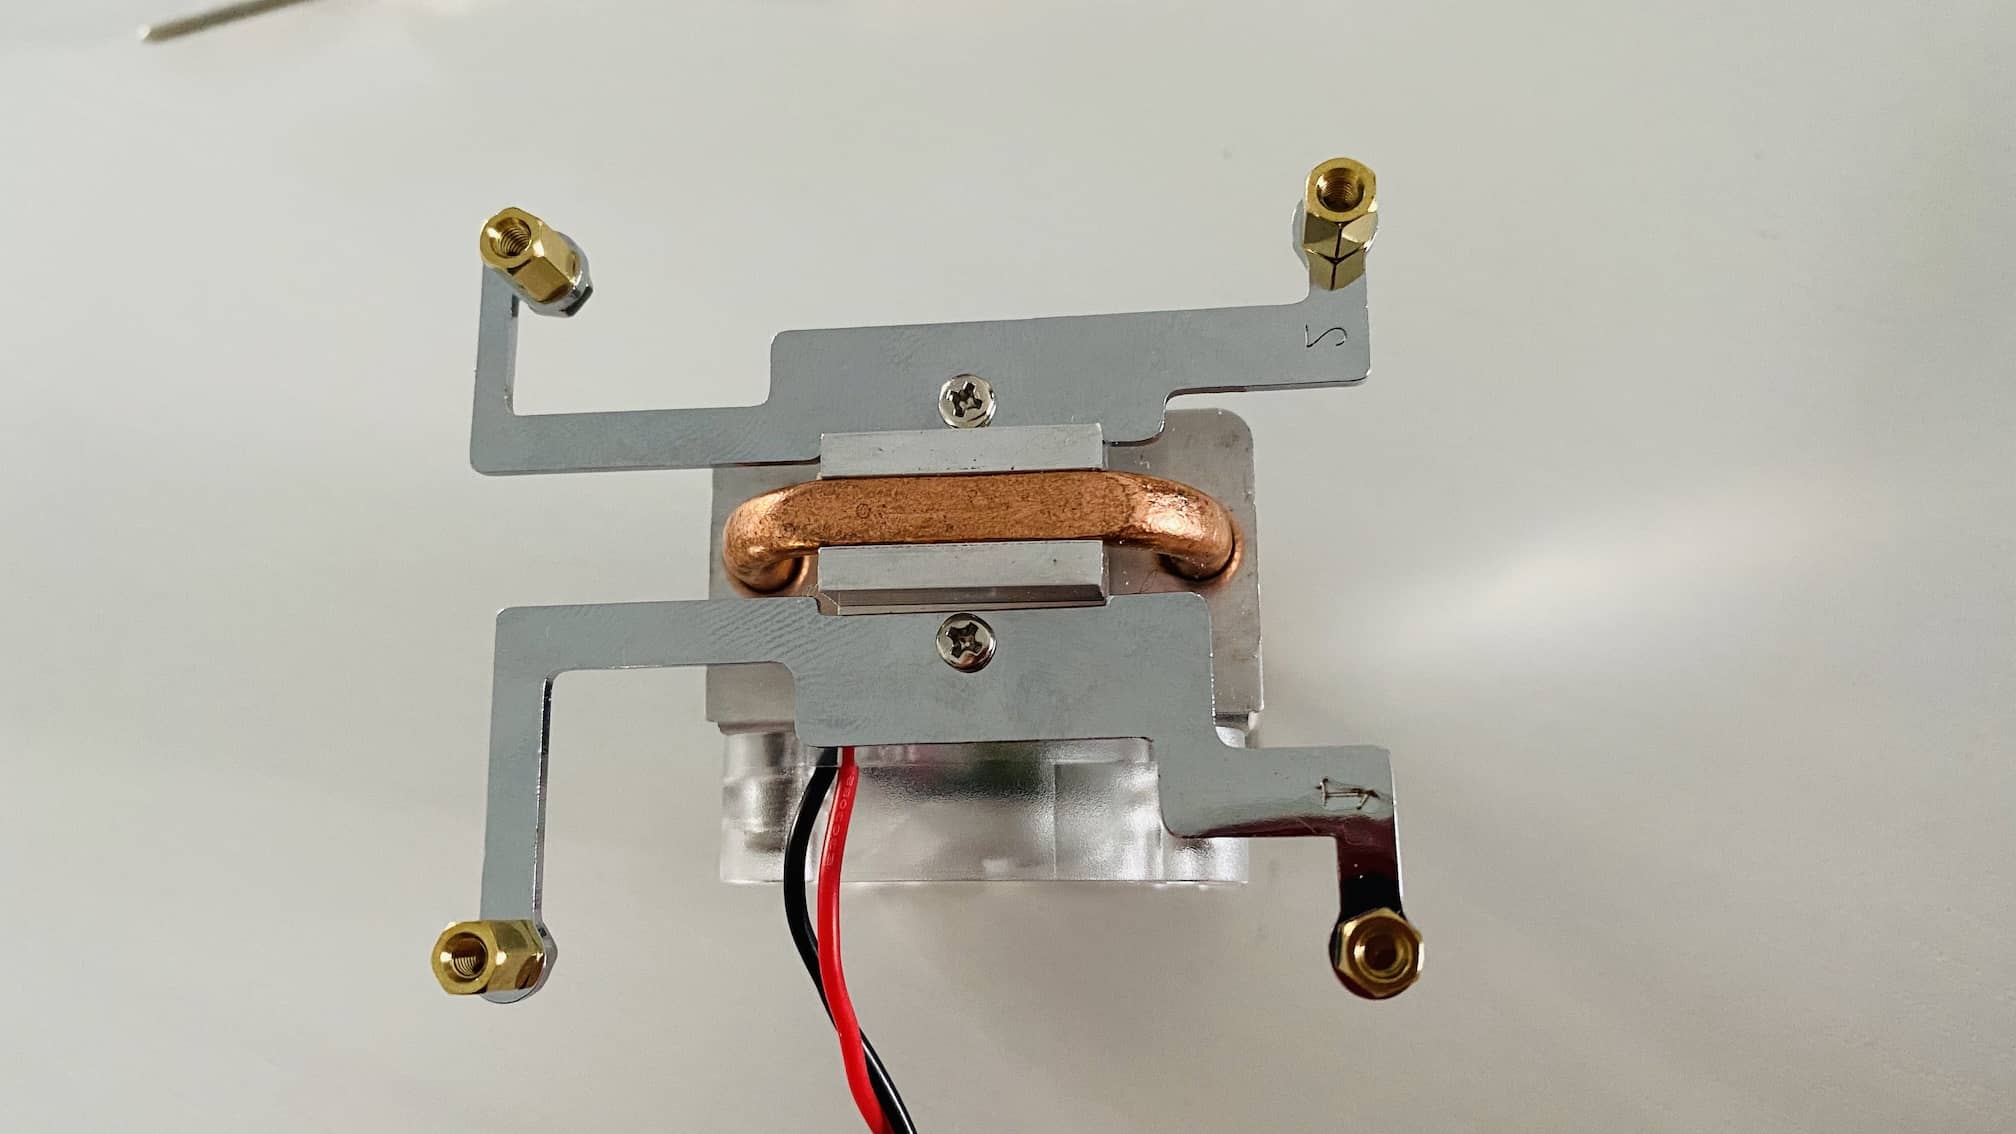
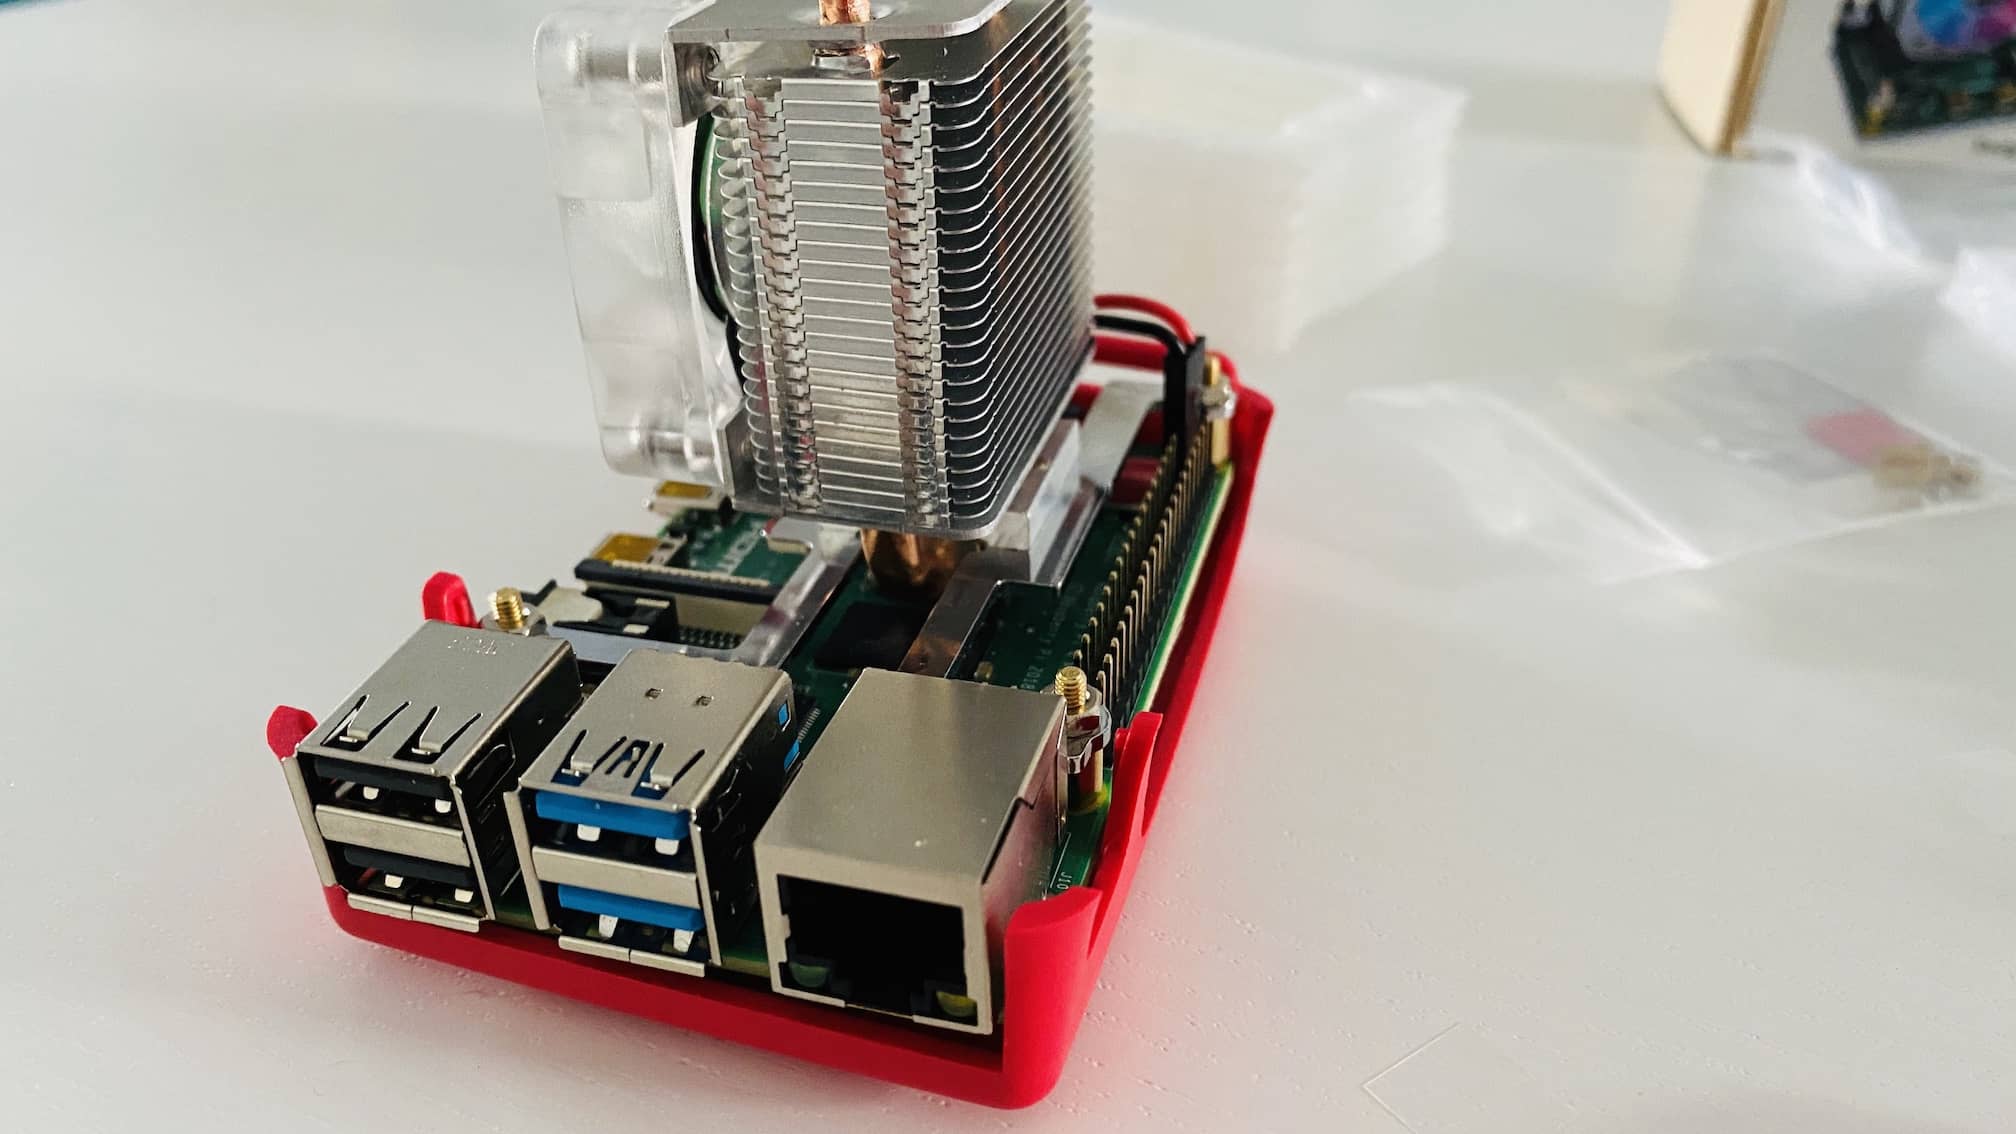
Remember to put the thermal silicone that comes as a sticker between the CPU and the heatsink. As you can see, the downside is that you won't be able to use any of the commercial cases. Maybe a 3D printed one will do, but in my case I don't usually use one.
[ Features ]
As you can see on the product website, this heatsink comes with the following features to consider:
Support Raspberry Pi 4 B/3 B/3 B+
DC 5V Power in (Can be powered by the Raspberry Pi)
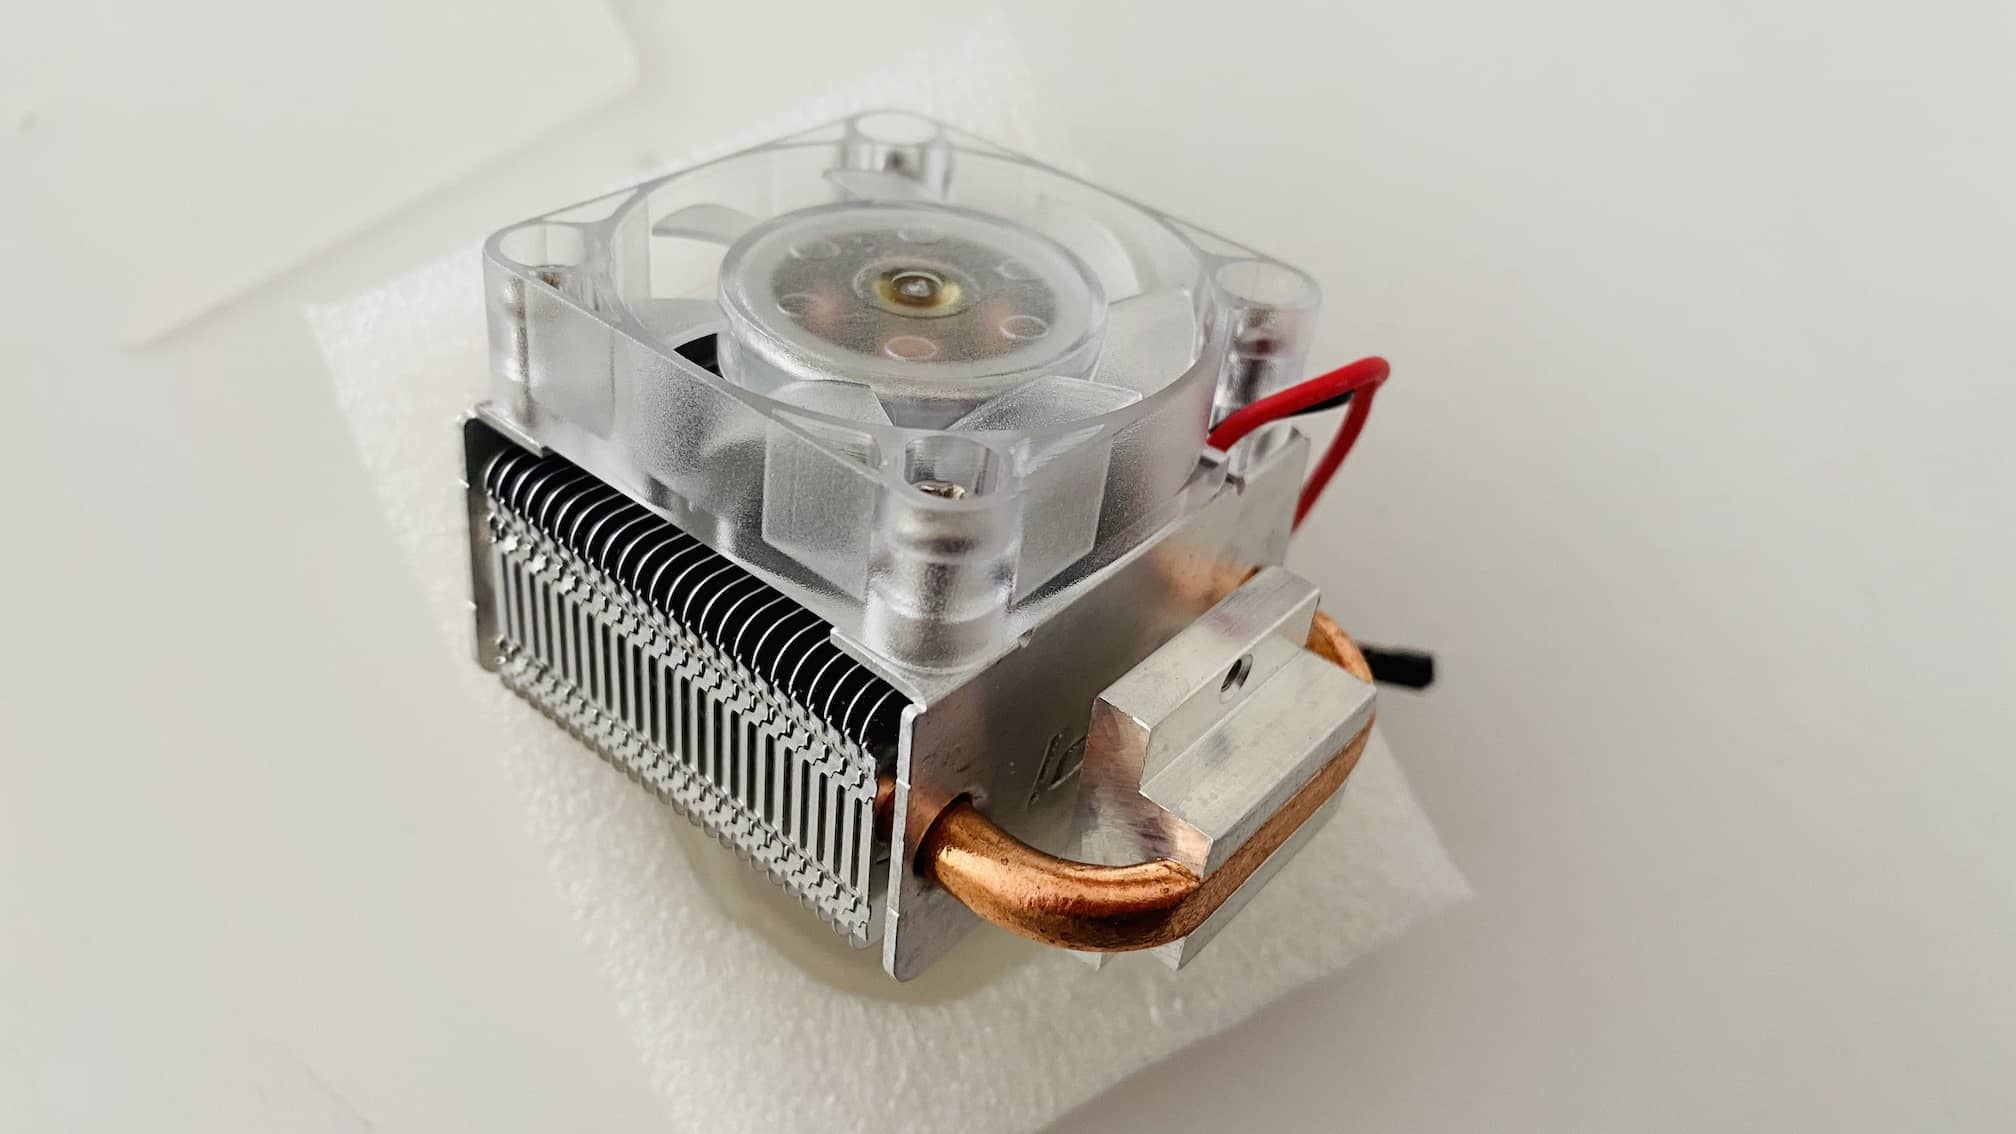
5mm copper tube
Rated power 0.4W @5V, 0.08A
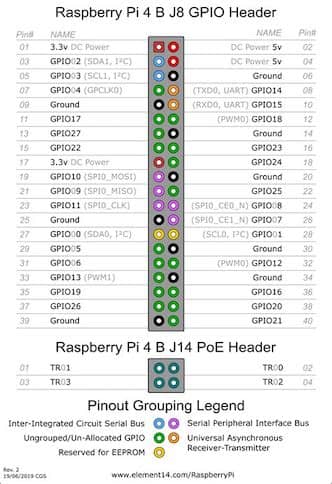
And where do I plug it in? Right now in my Raspberry Pi 4 I have it connected to Pin 02 which gives it 5V and to Pin 06 for ground, but you can also put less power in it and connect it to Pin 01 which gives a 3.3v output. I don't mind the noise it makes with 5V, not like the ODROID XU4. With 3.3V you can't hear it directly. By the way, it's the same pins on Raspberry Pi 3 and Zero. You can check it out by doing a quick search in your favorite search engine. One observation to keep in mind is that it is always turned on while the Pi is powered, even if you turn off the operating system, although I have already seen some script in Python out there that gives us full control of the fan.
[ This is all very well, but... Do I really need it? ]
No, you don't. I've had a Raspberry Pi for 8 years and I've never had one burned, and I live in southern Spain. So?. Well, you're probably an average user who uses it to watch a movie or play games from time to time, maybe your daughter uses it more than you do by watching videos of happy unicorns or using some sporadic application.
The Raspberry Pi needs to be below 70 degrees. It's a fact. You want to know who's really going to need it?. Those who like to get the most out of their board. Some examples:
Hello, I'm Helena and I have a cluster of Kubernetes on all day.
My name is John Koenig and I'm overclocking my RPi4 to perfectly emulate Dreamcast.
I'm Alan Carter and my Raspberry Pi was shutting down due to high temperatures. It hasn't happened to me since I put a heatsink in it.
You see how these fictional characters need it. Well, I'm going to show them the next section.
[ Tests & Benchmark ]
How we love benchmarks!. In my case I have executed the following script with the next conditions:
Room temperature: 18 degrees.
Board: Raspberry Pi 4 4Gb.
Power: Official DC power.
Operating System: Clean Raspbian Desktop 5 feb 2020 with sysbench installed.
EEPROM firmware: September 2019 (last stable at the time of writing)
Time required for each test: 10 minutes with long breaks between tests.
Script to be used:
#!/bin/bash
clear
for f in {1..7}
do
  vcgencmd measure_temp
  sysbench --test=cpu --cpu-max-prime=25000 --num-threads=4 run >/dev/null 2>&1
  date
done
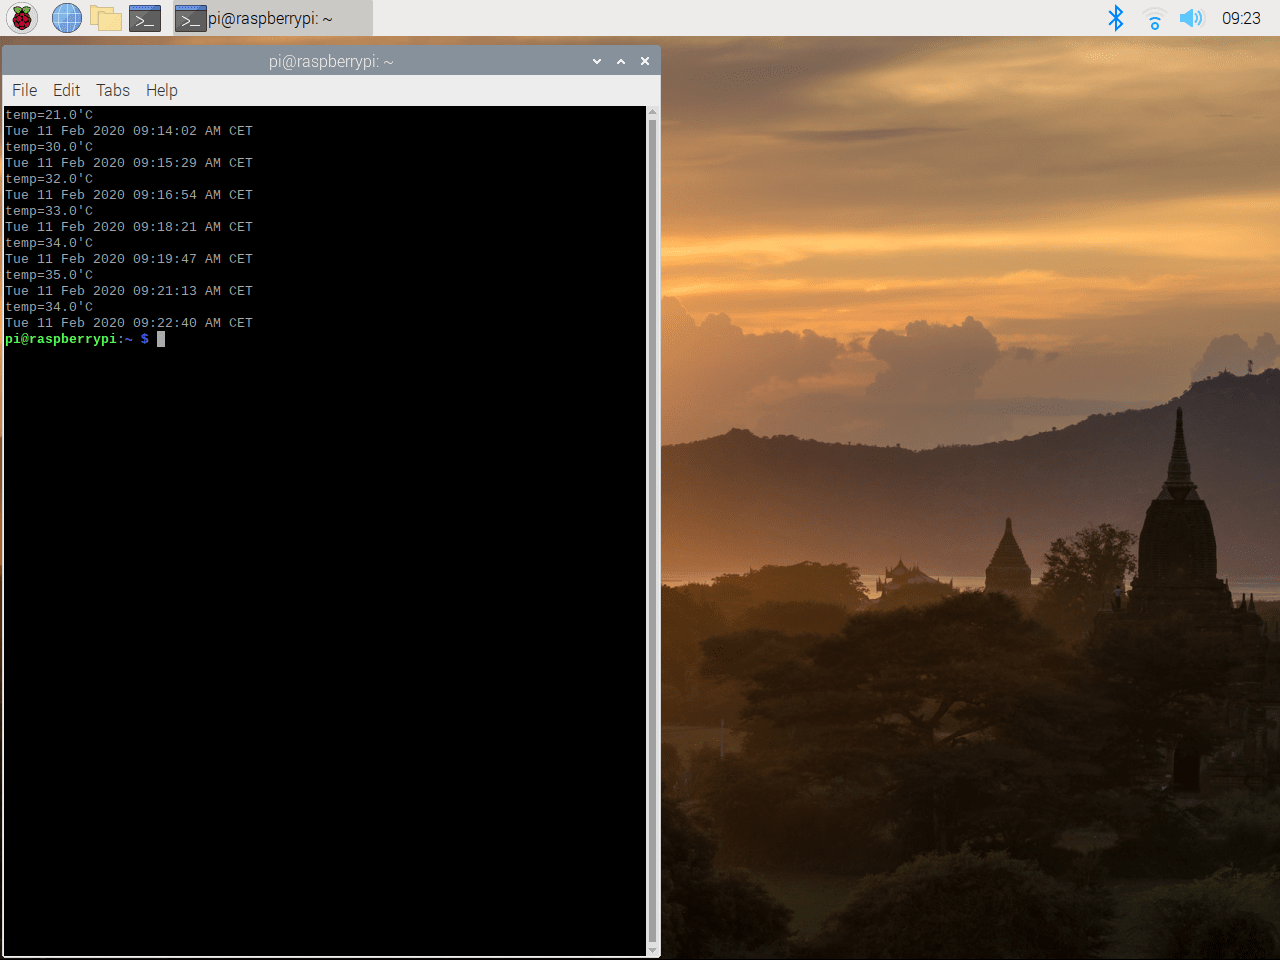
Results of the script with fan with 5V:
Results of the script with fan with 3.3V:
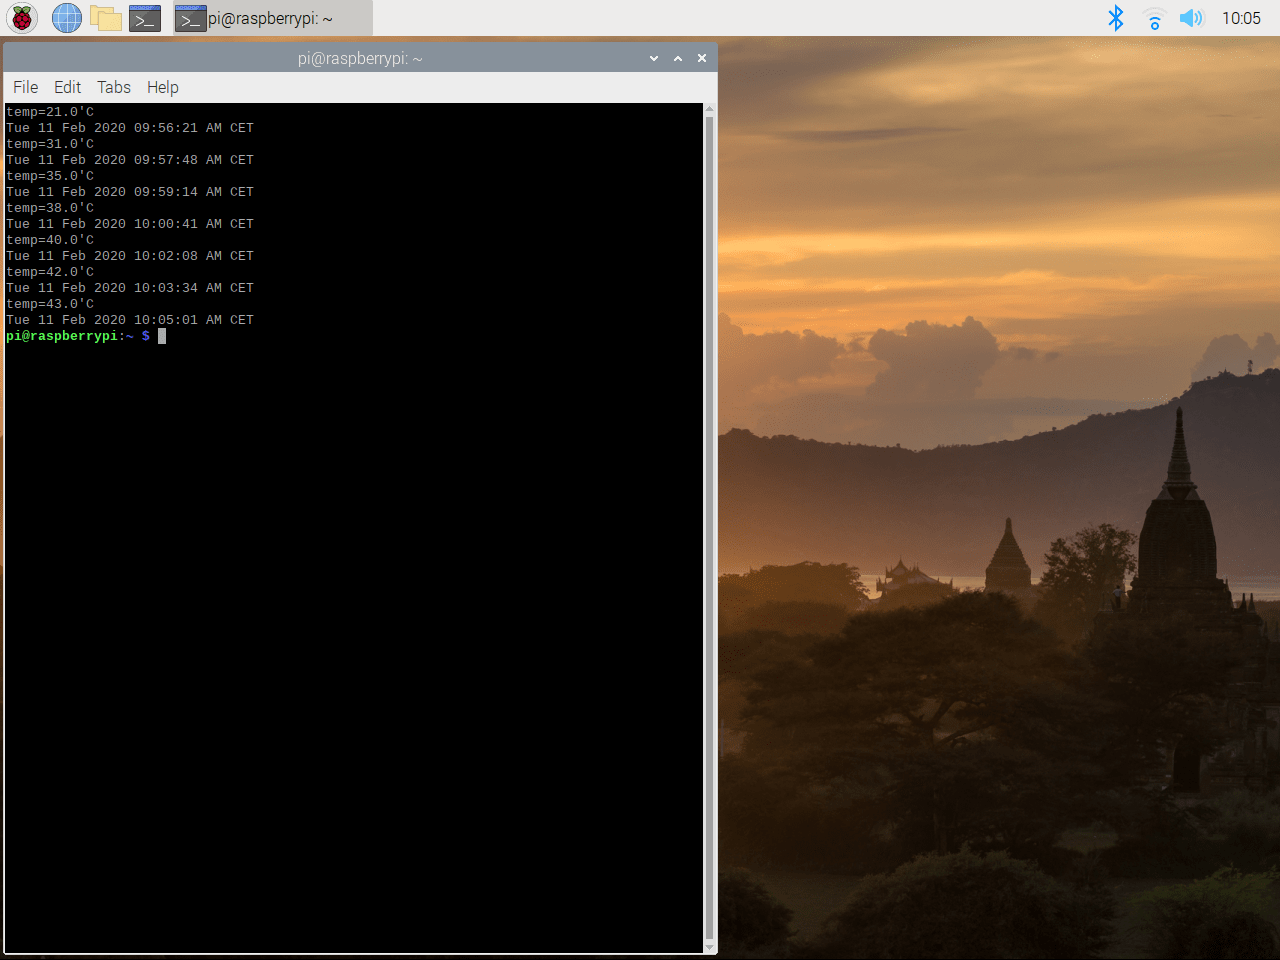
Results of the script with fan but not connected:
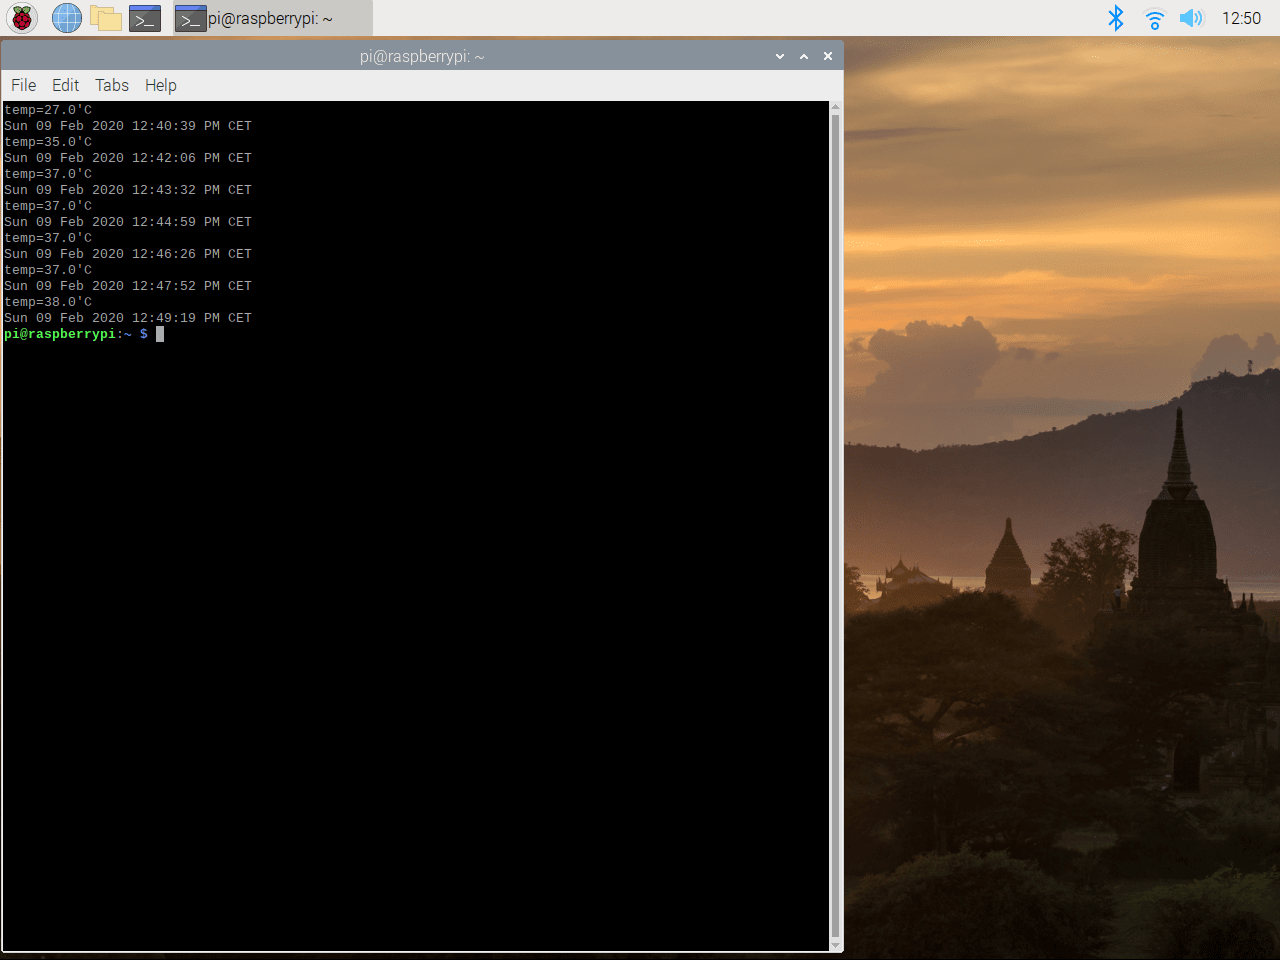
Results of the script with no fan:
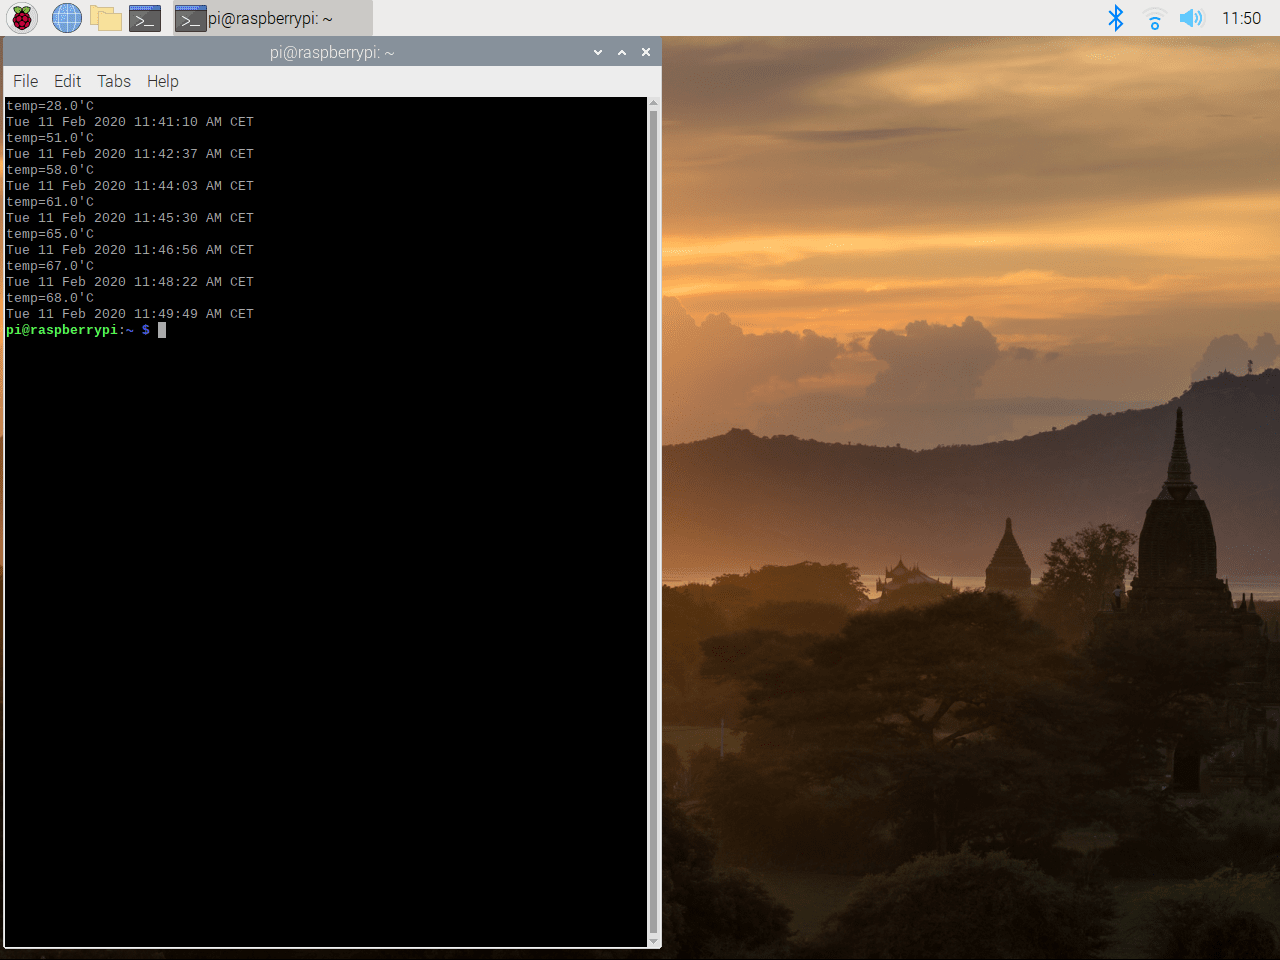
Results of the script with no fan and official case:
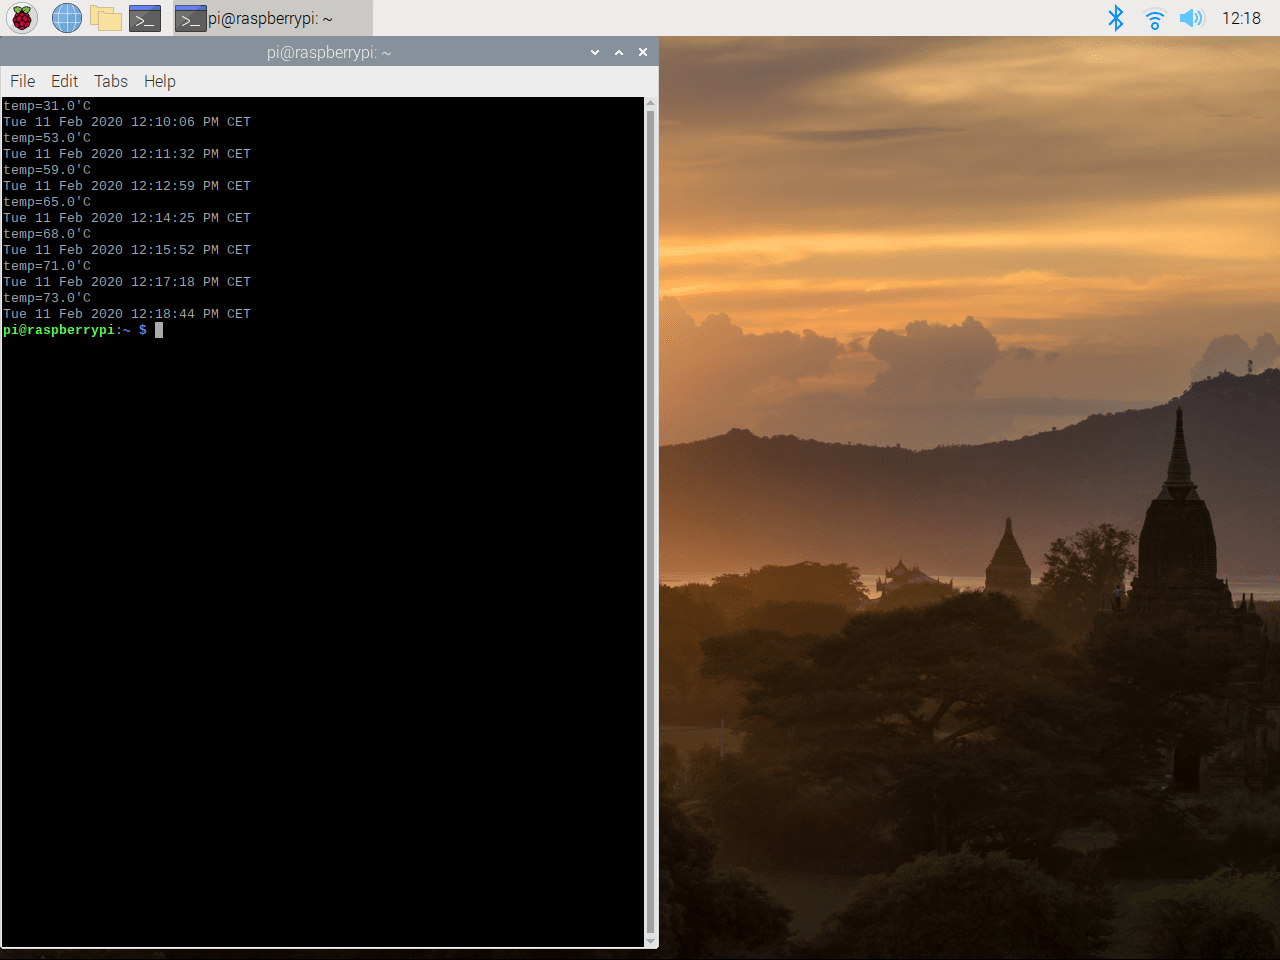
The captures speak for themselves. Indeed, the temperature is reduced by half in any case.
[ End words ]
Very few times as an average user are going to need it, but very few means none, and we can try with passive dissipation and some thermal silicone for a "quick fix" if you give it a normal use, but having a Raspberry well cooled for what little amount it costs a dissipation system like the one I present today, it should not hurt anyone in the pocket and I consider it a good investment. I'm particularly using it these days to see how it performs with games that require power, some overclocking and intensive use of the CPU (this is important), and I don't worry about getting burned out anymore.
As always, if you need me to pass any other test or you want to tell me something, or just say hello, I'll read you below. I always answer.