Batocera. Switch partition to extFAT for macOS/Windows compatibility
Batocera: Switch partition to extFAT for macOS/Windows compatibility
Many distributions prepared to play emulators, come by default with the secondary partition in EXT4 to store settings, BIOS and ROMs. For those of us who usually work with macOS and/or Windows, it would be better if this partition came in extFAT to be able to mount in you non Linux OS and transfer files comfortably from the Explorer/Finder, so that is what I have proposed today. It's not a big deal, let's go.
First of all, I must to tell you something that will cross your mind when thinking about solving this dilemma, repeat with me: I CANNOT convert the EXT4 partition to extFAT without data loss. That said, let's continue.
The first thing we're going to do is find a computer with some Linux distribution. I always have a laptop with Ubuntu for various tasks. We could also use our Raspberry Pi or a Live distro to temporarily install apps. By the way, today is the release of Ubuntu 20.04. It's a good time to try it out.
Now we boot Batocera in our SBC (Raspberry Pi 4 has a Beta version highly recommended) so that it generates the files and system partitions. Finally, we turn it off and extract the card.
It's time to insert into our Linux laptop and examine the partitions. You can use GParted. Now we delete the last ext4 partition, which will be the one that occupies the most space. If your distro allows it, you can create the extFAT partition now, although new versions of GParted don't allow it even if we have the extfat-tools installed. NOTE: If you want to keep your settings, ROMs and so on, it's time to make a copy of the entire contents of this partition. Anyway, at the end of this post I leave you a exact copy of the data of that partition.
Now we'll have to create an extFAT partition in case you haven't already done so. Possible solutions depending on your main operating system:
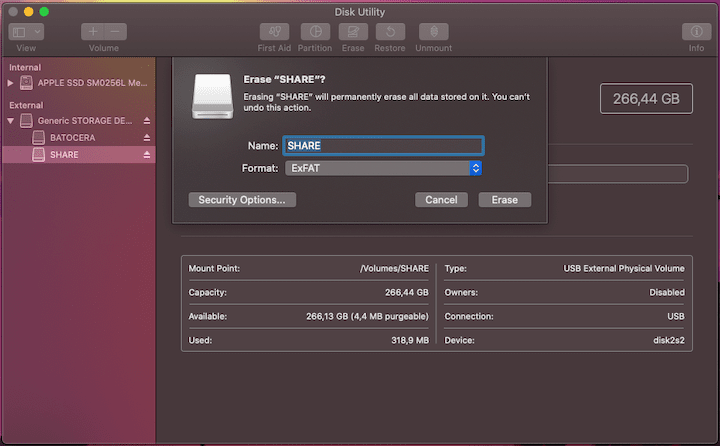
- macOS: Insert the SD in your Mac, open Disk Utility and format the partition.
Windows: We'll have to use the Disk Manager. I always enter by typing from the start button Create and format hard disk partitions. From there you will have no problem viewing the drive and formatting it. Another idea could have been that you formatted from Linux the partition into FAT32 and then reformat it normally from Windows by right clicking on the drive and choosing to format into extFAT.
Linux: Gparted as mentioned, does not allow formatting in extFAT, but if you have installed the extfat-tools package, you can use gnome-disks to do the partitioning, or the command line:
sudo fdisk -l # To know the partition we want to format. For example, /dev/sdb2
sudo mkfs.exfat -n SHARE /dev/sdXn # where sdXn is the partition to be formatted and SHARE is the label we are going to assign to it
The only thing you have to keep in mind is that we have to name the partition SHARE (important).
Now we copy the content that was originally in that partition. In case you have made a backup, you just have to restore it. If you didn't, at the end of the post I leave you a copy that you should untar to this new SHARE partition.
For macOS users, remember before extracting the image, to remove the residual files usually left by the operating system. You can delete them from the command line by typing:
find /Volumes/SHARE -type f -name "._*" -depth -delete
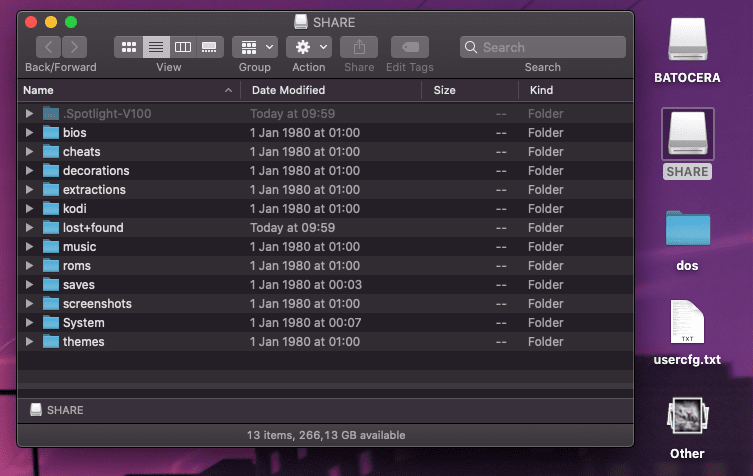
That's it! Now it will be easier for you to copy the ROMs and addons for KODI from the comfort of your operating system.